Valentine Art Project with Sharpies · Art Projects for Kids
Valentine Fine art Project with Sharpies
posted in: 1st Class, 2nd Grade, third Grade, fourth Grade, fifth Grade, artist Jim Dine, Crafts, Fundraising, Vacation Drawing Ideas, Kindergarten, Markers, Sharpies, Valentine'due south Day
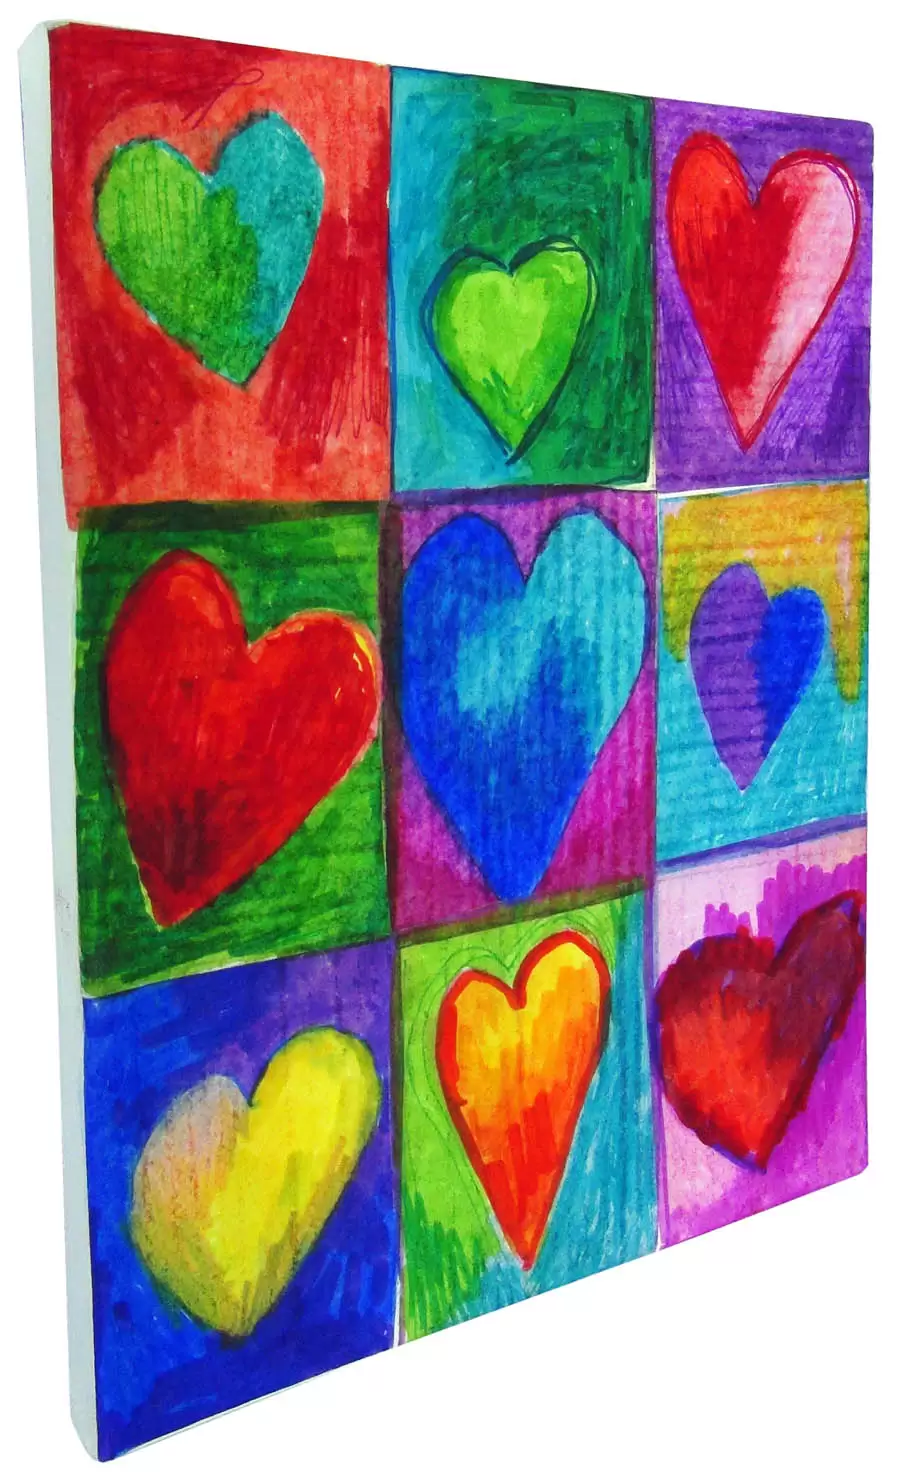
Mix the amazing pigment of Sharpies on a stretched canvas for a Valentine art projection that is equally rich, and colorful (and inexpensive!) as tin can be.
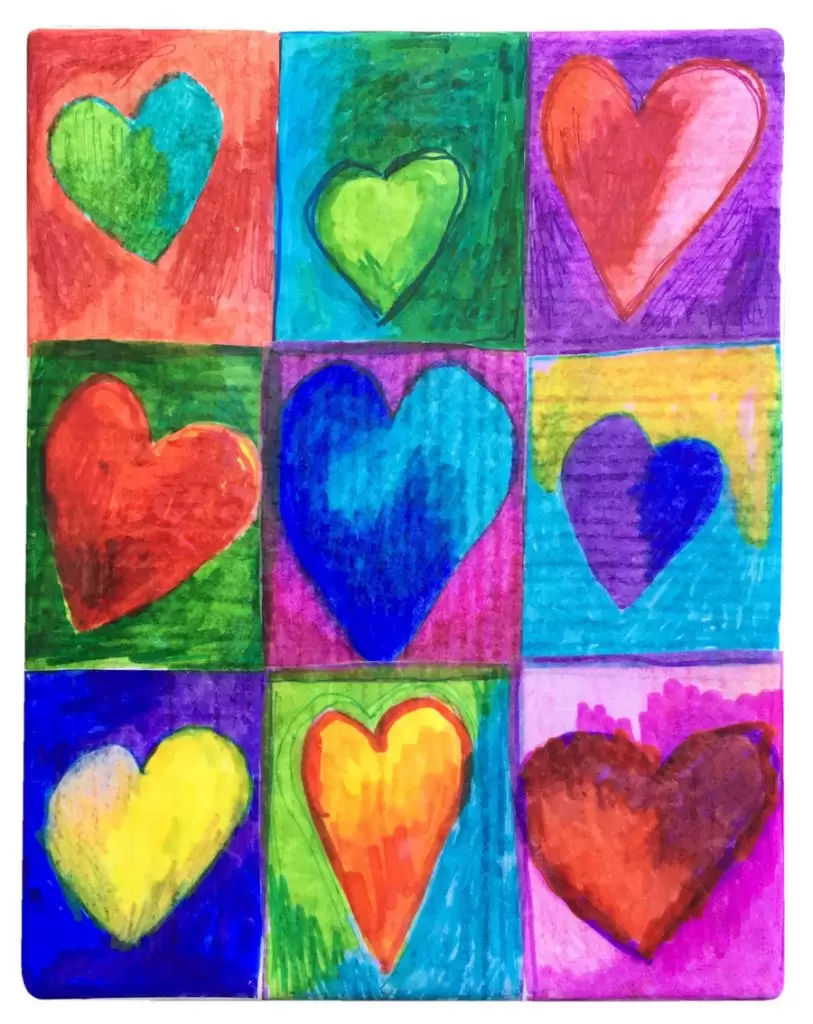
This one involves mounting the drawings on to a stretched canvas. Modify the size of the canvass to adjust all your students, and you as well take a very pretty collaborative fundraiser project.
This is a technique I experimented with for years at my uncomplicated schoolhouse. Students depict with Sharpies on something called "dry wax paper". You tin find it in eating place supply stores, or on Amazon. (Note: The previous is a referral link. If you click through and accept activeness, I'll be compensated.) Each drawing is decoupaged with watery white glue to a stretched canvas. When the moisture tissue dries, it kind of hugs the sail.
In the end, it looks like students drew straight on the sheet, which is the goal, but not practical for many reasons, in real life. Here are the steps.
MATERIALS
- Stretched canvas*
- Dry wax paper*
- Sharpie markers, fine tip*
- Sharpie markers, brush tip (optional)*
- Sharpie markers, ultra fine tip (optional)*
- Brush
- Pair of scissors
- White glue
- Spray gloss sealer*
*The above product links are referrals. If y'all click through and take action, I'll be compensated a small amount, at no extra expense to y'all.
DIRECTIONS
Time needed:ii hours.
How to Make Sharpie Hearts
- Lightly depict filigree lines on sheet.

- Color centre on dry wax paper with Sharpies.

- Echo, trim out each, and arrange in a pleasing way.

- Apply each heart to canvas with watery white gum (fifty/fifty ratio). Be certain to saturate.

- Repeat to finish the rows. Overlapping is fine to help them fit.

- Repeat until terminate. For a shine, spray with gloss finish when dry out.
DETAILED INSTRUCTIONS
- Buy a sail that can arrange the total number of drawings your students will exist making. Allow for a roughly iii″ x four″ rectangle for each. Use a pencil to draw a light grid.
- Give students a piece of dry wax tissue that has a matching rectangle fatigued on it. Their task is to make a heart using several colors on the inside, and several colors in the background. Choose your color lesson every bit desired, simply make sure that everything is filled in. No white spaces. If your budget allows, Sharpie Castor markers are a dream to color with.
- Trim off whatever excess newspaper around the hearts. Make a layout plan that looks pleasing to you lot.
- Mix white glue to water, about a 50/50 ratio. To make sure the art is really saturated, utilise showtime to the canvas, then the back of the drawing. Identify the drawing on the canvas, and add together more than mixture on top. Smooth with your fingers.
- Continue applying the drawings. Don't worry if they overlap a scrap, the sketchy look is very forgiving. When you lot are done, check the fine art closely to see if there are whatsoever bubbles. If so, shine with your fingers. Don't worry almost trivial wet wrinkles. They will disappear every bit the tissue dries.
- When the canvas is dry, you can spray with a glossy fixative to give information technology an extra smooth. Now you know how to make large collaborative works of fine art with but a few inexpensive supplies. Enjoy!

Source: https://artprojectsforkids.org/valentine-art-projects-with-sharpies/
0 Response to "Valentine Art Project with Sharpies · Art Projects for Kids"
Post a Comment